
Are things broken?
This content is from hapa-tite's predecessor, discojing.com. It is old content that is not longer being updated and may have been broken during the move.

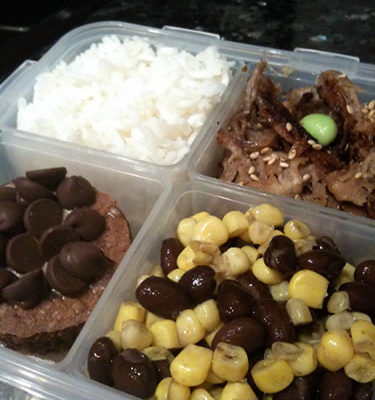
Last Bento of 2009
Carte Postale du Brésil
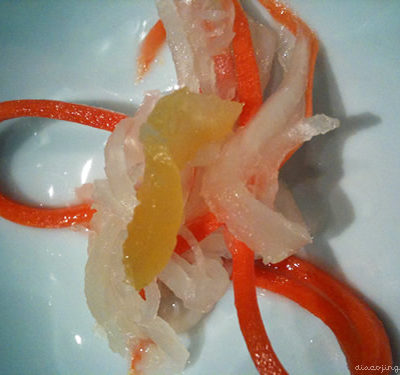
O-Shougatsu Dishes (お正月料理)
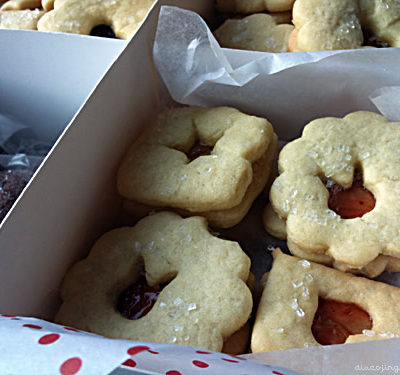
Holiday Baking

Cupcake Exchange: Chocolate Chai Spice
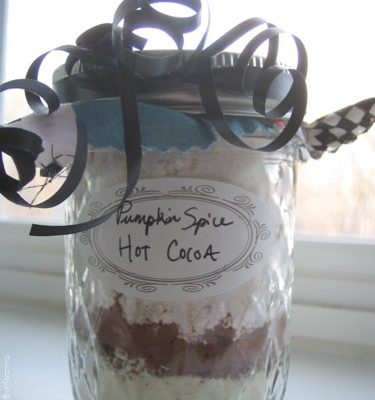
Pumpkin Spice Hot Chocolate Mix

Thanksgiving Cupcakes
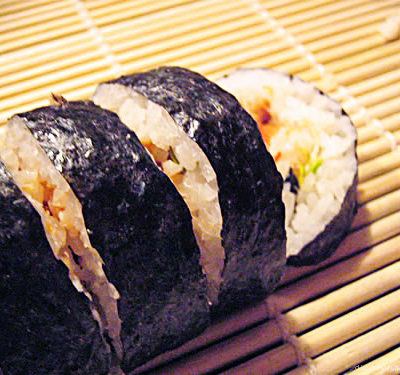
Unagi Maki, Inari, and Onigiri

Northern Virginia Magazine, November Issue

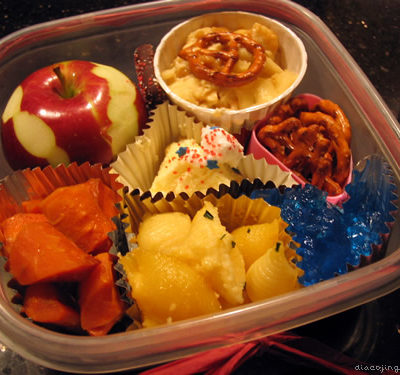
Packing for Hypoglycemia/Type II Diabetes
Carte Postale des Etats Unis
- « Previous Page
- 1
- …
- 3
- 4
- 5
- 6
- 7
- …
- 22
- Next Page »